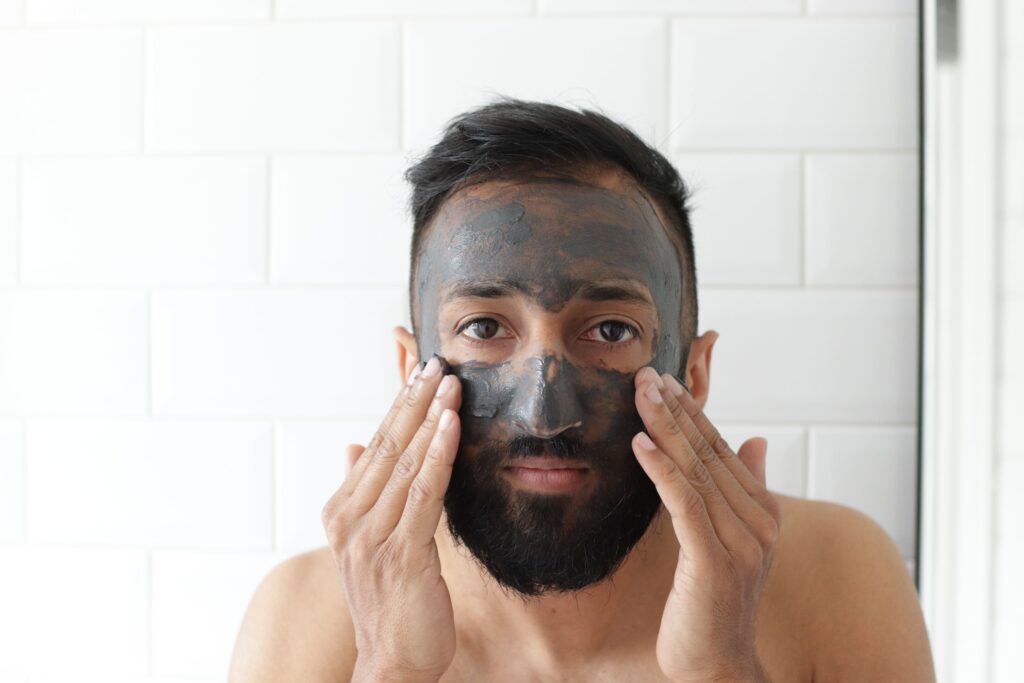
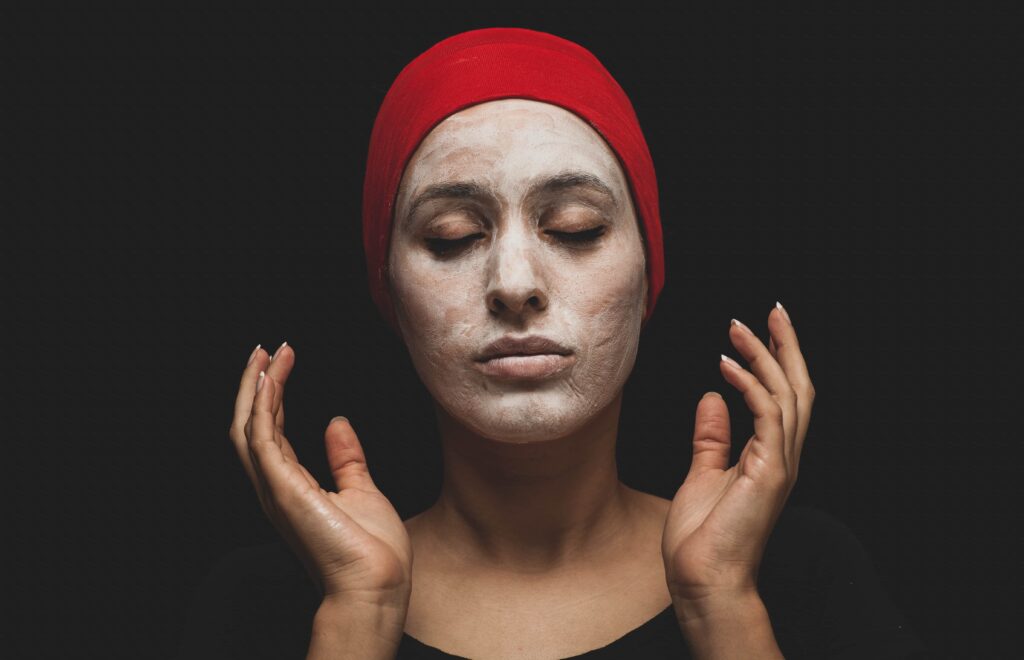
Pore strips are a popular skincare product designed to help remove blackheads and unclog pores.

While commercial pore strips are readily available, they can be expensive and may contain harsh chemicals that can irritate the skin.
Fortunately, you can make your pore strips at home using natural ingredients that are gentle on the skin and just as effective.
Here’s a simple DIY recipe and guide to making pore strips at home:
Ingredients:
- 1 tablespoon unflavored gelatin
- 1-2 tablespoons milk or water
- Optional: a few drops of essential oil (e.g., tea tree oil for its antibacterial properties)
Instructions:
- In a small microwave-safe bowl, mix the gelatin with milk or water. Start with 1 tablespoon of liquid and add more if needed to create a thick paste.
- Microwave the mixture for about 10-15 seconds, or until it is warm but not hot. Stir well to ensure the gelatin is fully dissolved.
- Add a few drops of essential oil, if desired, and stir to combine.
- Allow the mixture to cool slightly so that it is comfortable to touch but still pliable.
Application:
- Wash your face with a gentle cleanser and pat dry.
- Using clean fingers or a brush, apply a thin layer of the gelatin mixture to the areas of your face with visible pores or blackheads. Avoid areas with hair, eyebrows, or sensitive skin.
- Allow the mixture to dry completely, which usually takes about 10-15 minutes. You will feel the mask tightening as it dries.
- Once the mask is completely dry, gently peel it off in an upward motion. You should be able to see the blackheads and debris from your pores on the strip.
- Rinse your face with lukewarm water to remove any remaining residue.
Tips:
- Perform a patch test before using the pore strips on your face to ensure you are not allergic to any of the ingredients.
- Apply a moisturizer after using the pore strips to soothe and hydrate your skin.
- Use pore strips no more than once or twice a week to avoid over-drying or irritating your skin.
- Store any leftover mixture in an airtight container in the refrigerator for future use.
Benefits of Homemade Pore Strips:

- Cost-effective: Making your own pore strips at home is much more affordable than buying commercial products.
- Natural ingredients: DIY pore strips use natural ingredients that are gentle on the skin and less likely to cause irritation.
- Customizable: You can customize the ingredients and essential oils in your pore strips to suit your skin type and preferences.
Things to avoid while making pore Strips At Home
When making pore strips at home, it’s important to avoid certain practices to ensure the safety and effectiveness of the treatment.

Here are some key things to avoid:
1. Using hot water: Avoid using hot water to dissolve the gelatin, as it can cause burns or irritation when applied to the skin. Use lukewarm water instead.
2. Overheating the mixture: Do not overheat the gelatin mixture in the microwave. Heat it only until it is warm and easily spreadable, as overheating can cause the mixture to become too hot and potentially burn your skin.
3. Applying the mixture to sensitive areas: Avoid applying the pore strip mixture to sensitive areas of the skin, such as around the eyes, eyebrows, or lips. Focus on areas with visible pores or blackheads.
4. Pulling too hard when removing the strip: Be gentle when peeling off the pore strip to avoid irritating or damaging the skin. Pulling too hard can cause redness, irritation, or even skin damage.
5. Using expired ingredients: Check the expiration dates of the ingredients you use to make the pore strips, such as gelatin and essential oils. Using expired ingredients can reduce the effectiveness of the treatment or cause adverse reactions.
6. Applying the pore strip too frequently: Avoid using pore strips too frequently, as this can over-dry the skin and lead to irritation. Limit use to once or twice a week, depending on your skin’s sensitivity.
7. Skipping a patch test: Before using the pore strips on your face, perform a patch test on a small area of skin to check for any allergic reactions or sensitivity to the ingredients.
By avoiding these common mistakes, you can safely and effectively make and use pore strips at home to unclog pores and improve the appearance of your skin.
By making your own pore strips at home, you can achieve clearer, smoother skin without the harsh chemicals found in commercial products.
With regular use, DIY pore strips can help unclog pores, remove blackheads, and improve the overall appearance of your skin.
Thank You 🙂